
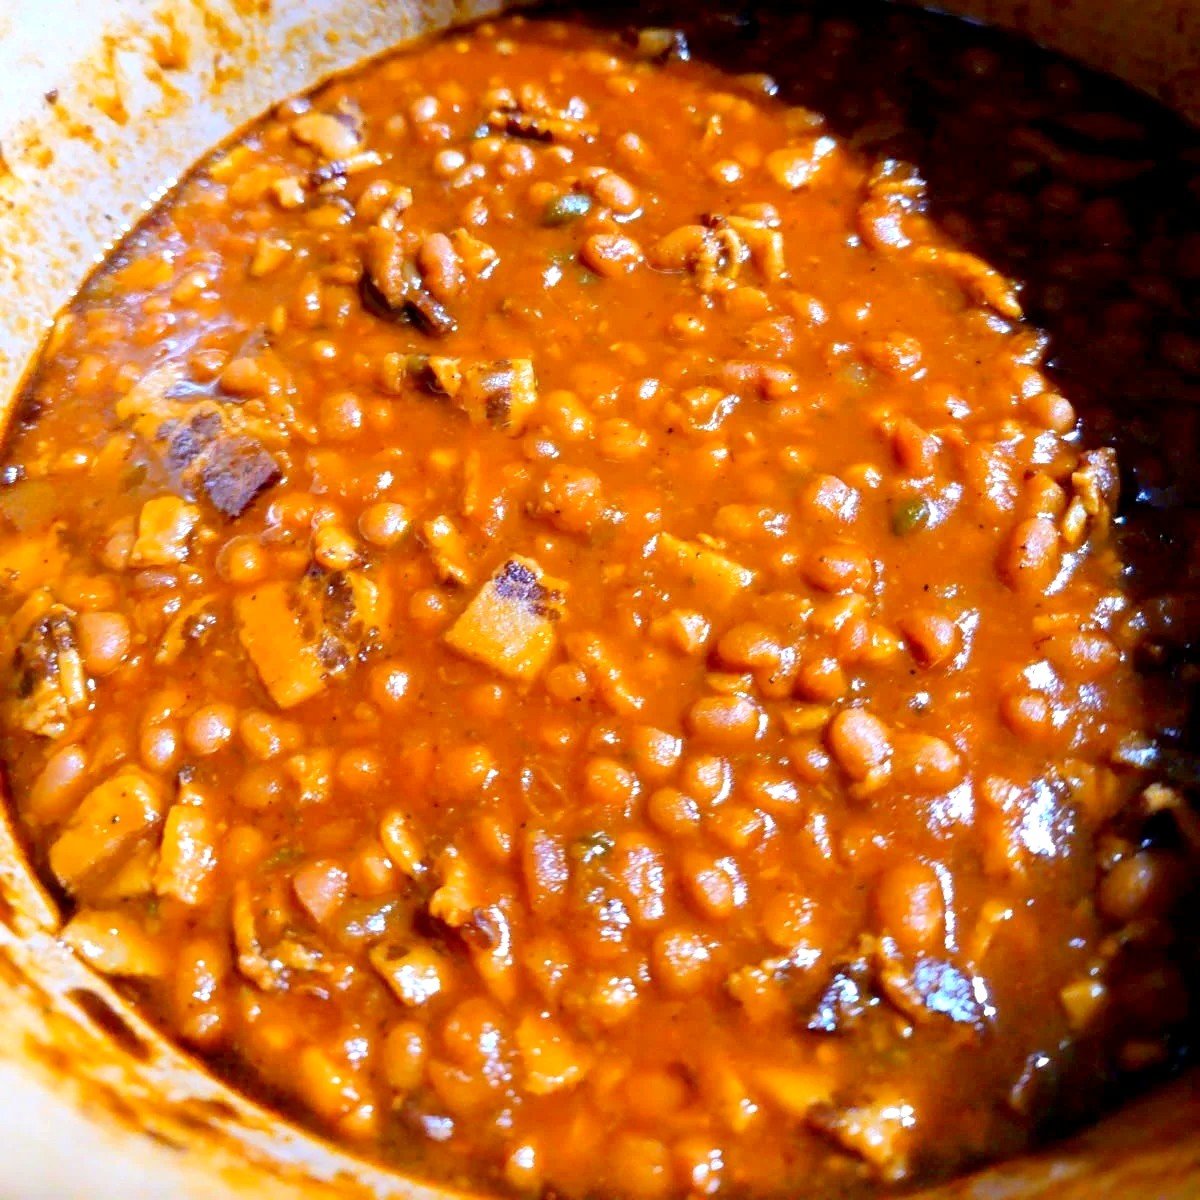
This one started as Alton Brown’s baked beans, tweaked over time to fit what I like — more molasses and brown sugar, more heat from the jalapeños and cayenne, more salt. Dried beans instead of canned, real bacon rendered right in the pot, and a long slow bake until everything’s thick, sticky, and smoky. This is the side dish that disappears first at a cookout.
Tips for the Best Smoky Jalapeño Baked Beans
Don’t skip the soak. Dried beans that go straight into the pot without soaking take forever to cook and can turn out with a weird texture, mushy outside, chalky in the middle. An overnight soak in plain water fixes both problems and cuts your actual cook time down significantly. Save that soaking liquid too — it goes back into the pot instead of plain water.
A note on salt: I add a little upfront, but I hold off on the full amount until the beans are already tender. Salting hard water or acidic ingredients too early can slow down how quickly dried beans soften, so if you’re impatient like me, season conservatively at the start and adjust at the end.
Want more heat? Leave the jalapeño seeds and ribs in instead of scraping them out, that’s where most of the spice lives. Want it milder? One jalapeño instead of two gets you flavor without much bite at all.
Don’t be shy with the liquid going in — you want it sitting a couple inches above the beans before they go in the oven, since a good amount evaporates over that long a bake even with the lid on. Start checking around the 5-hour mark: if they’re already thick and tender, you’re done. If they’re still thin, pull the lid for the last 30 minutes to an hour and let them reduce. Plan for somewhere around 6 to 8 hours total to be safe — I’ve had batches ready right at 5 or 6 hours, but I’ve also had one stretch past 10 because I didn’t start with quite enough liquid and it ran dry before the beans were fully tender. Running low on liquid partway through is the main reason this one ever takes longer than expected, so err on the side of more broth than you think you need.
One more backup if you still end up thicker than you wanted even after all that: keep a little warm broth mixed with a spoonful of tomato paste and a pinch of brown sugar on standby while these bake. If the sauce has reduced down more than you’d like by the time the beans are tender, stir that mixture in instead of plain broth — it loosens things back up and adds a little shine and flavor at the same time, rather than just diluting what’s already in the pot. Results can vary a bit batch to batch depending on your beans and your pot, so it’s a good one to have in your back pocket.
These reheat beautifully, actually get better the next day once the flavors have had more time to sit together. Bring a pot of these to your next cookout and watch the pulled pork and ribs suddenly become the side dish instead.
A splash of apple cider vinegar stirred in at the very end brightens up the whole pot if it’s tasting a little too sweet and heavy. Don’t add it any earlier though, the acid can slow down how quickly the beans soften.
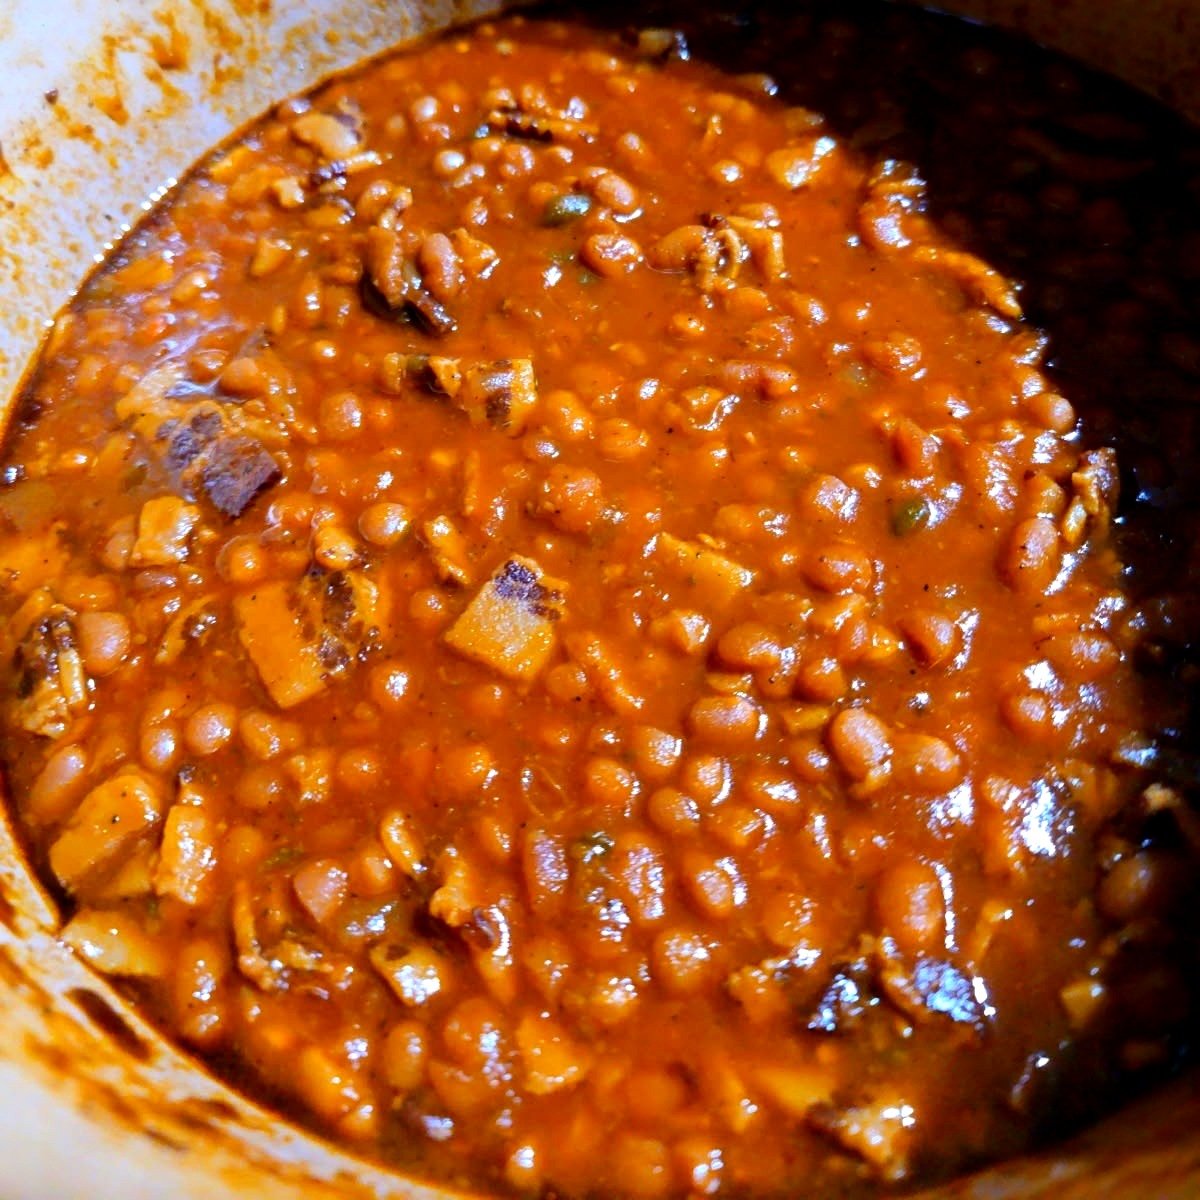
Smoky Jalapeño Baked Beans
Ingredients
Equipment
Method
- Soak the dried beans in several inches of water at room temperature for 8 hours or overnight. Drain, but reserve 3-4 cups of the soaking liquid.
- Preheat oven to 250°F. In a large oven-safe pot or Dutch oven, cook the bacon over medium heat until about half done (not crisp), just a few minutes.
- Add the onion and jalapeños right into the pot with the bacon and sauté together until the onion softens, about 5 minutes.
- Stir in the tomato paste and sauté for about a minute to caramelize it slightly.
- Add the molasses and brown sugar, stirring until combined.
- Add the beans, the reserved 3-4 cups of soaking liquid, and about 4 cups of vegetable, chicken, or beef broth. The liquid should sit a couple of inches above the beans — they’ll absorb a lot as they bake, and plenty will evaporate even with the lid on.
- Stir in the cayenne, black pepper, and salt.
- Cover and bake, checking doneness around the 5-hour mark. If the beans are already thick and tender, they’re done. If they’re still thin, remove the lid for the last 30 minutes to an hour and let them reduce — though in practice they usually come out thicker than you’d expect even without this step, so don’t be shy with the broth going in.
Leave a Reply