
This post contains affiliate links. As an Amazon Associate I earn from qualifying purchases. Full disclosure here.
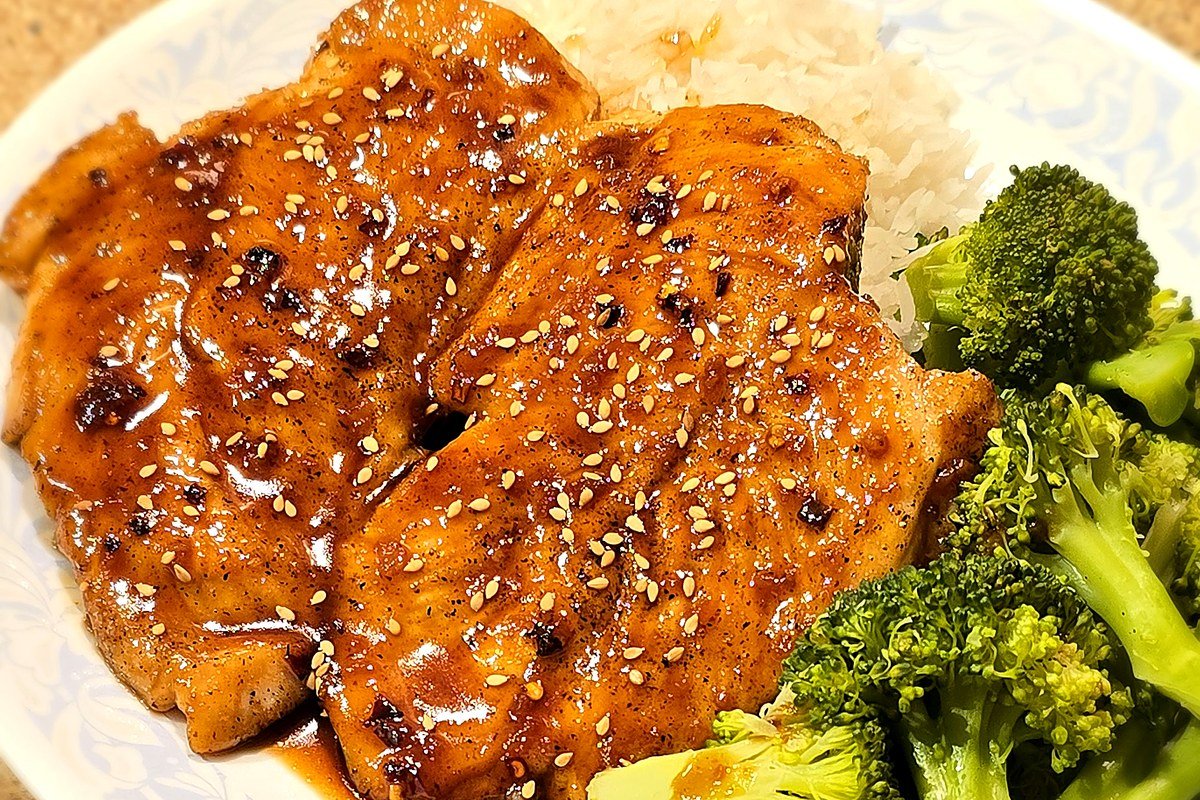
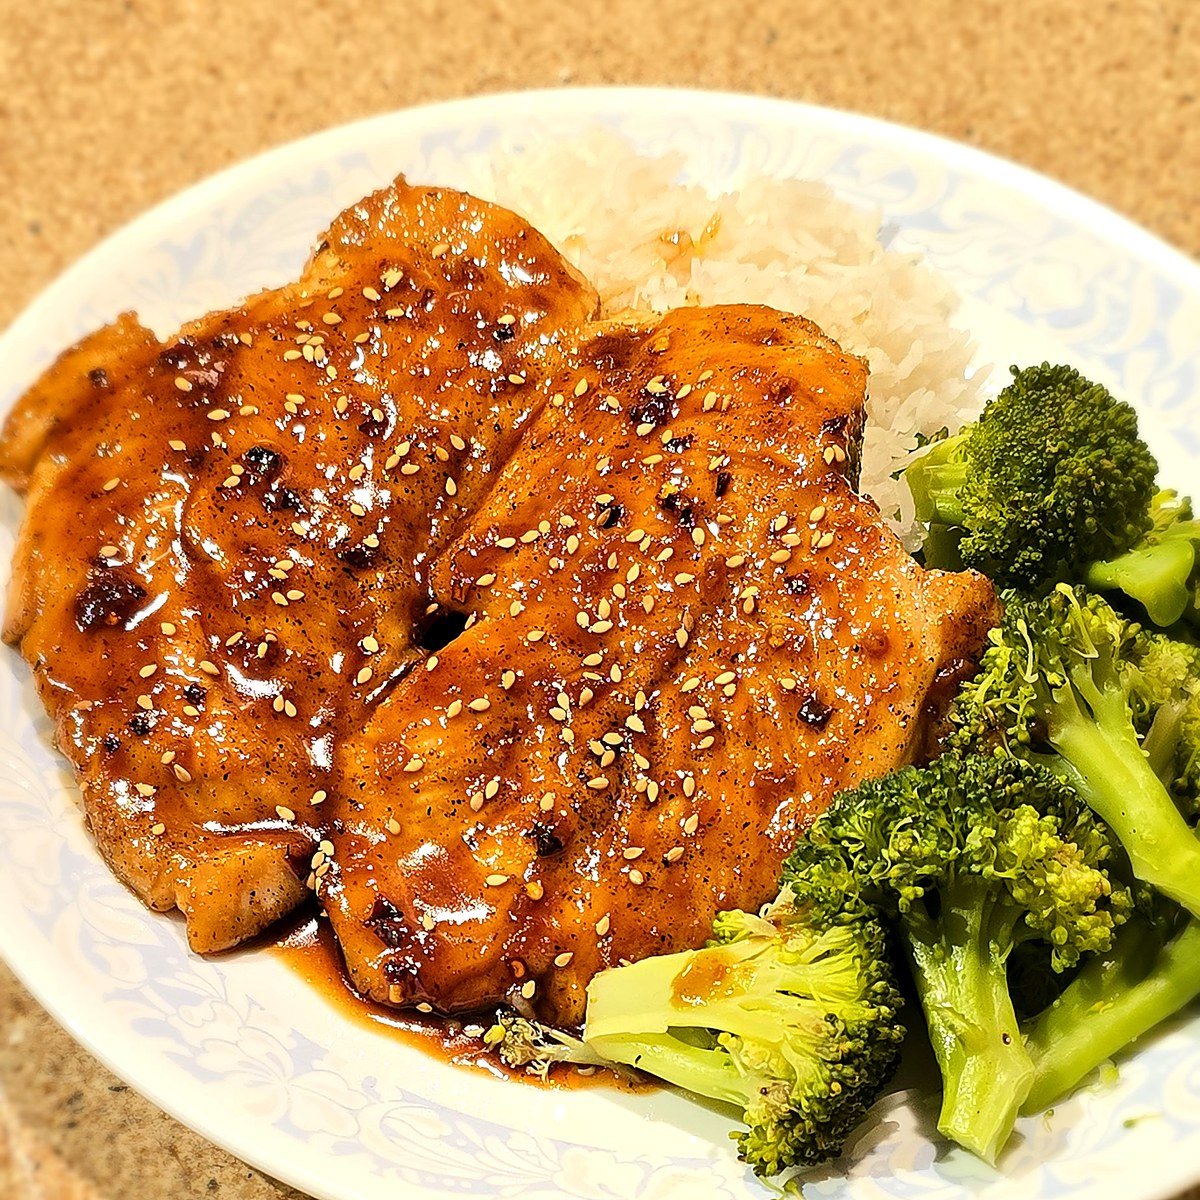
Sweet, spicy, and sticky – this one comes together in a single skillet and tastes like way more effort than it actually takes. Butterflied chicken breast gets seared until golden, then finished in a honey garlic glaze with real heat from Szechuan chili flakes.
Tips for the Best Spicy Honey Garlic Chicken
Butterflied chicken breast is what we use here, but thin-cut breast fillets or boneless, skinless thighs work just as well if that’s what’s in the fridge – just keep an eye on the cook time since it’ll shift a bit with thickness.
Let the garlic, ginger, and chili flakes sizzle in the pan for a few seconds before the glaze goes in – that quick bloom is what gives the sauce its depth instead of tasting flat. I like Szechuan chili flakes for a more fragrant, authentic heat, but regular crushed red pepper flakes work just fine if that’s what you’ve got.
Whisk the glaze constantly as it reduces so it doesn’t scorch, and don’t rush it – it needs to coat the back of a spoon before it’s ready. A quick cornstarch slurry (equal parts cornstarch and water) whisked in partway through gives it an extra glossy, clingy finish if you want to take it up a notch.
Spicy Honey Garlic Chicken
Ingredients
Equipment
Method
- In a small bowl, whisk together the honey, soy sauce, rice vinegar, onion powder, and black pepper. Set aside.
- Season the chicken with salt and pepper. Heat the oil in a large skillet over medium-high heat and sear the chicken until browned and cooked through, about 5-7 minutes per side depending on thickness. Remove and set aside.
- Reduce the heat to medium. Add the chili flakes, ginger, and garlic to the same skillet and stir for about 30 seconds to release their flavor.
- Pour in the honey mixture. Whisk constantly as it simmers until the glaze is thick enough to coat the back of a spoon, about 3-5 minutes.
- For a thicker, glossier glaze, whisk the cornstarch and water together into a slurry and whisk it in while the glaze reduces – this step is optional but helps it cling better.
- Return the chicken to the skillet (or slice it first) and spoon the glaze over top to coat. Garnish with green onions and sesame seeds before serving.
Notes
Serve it over rice to catch the extra glaze, or alongside steamed broccoli for something a little lighter – either way, keep a napkin handy, this one gets a little sticky.
Leave a Reply